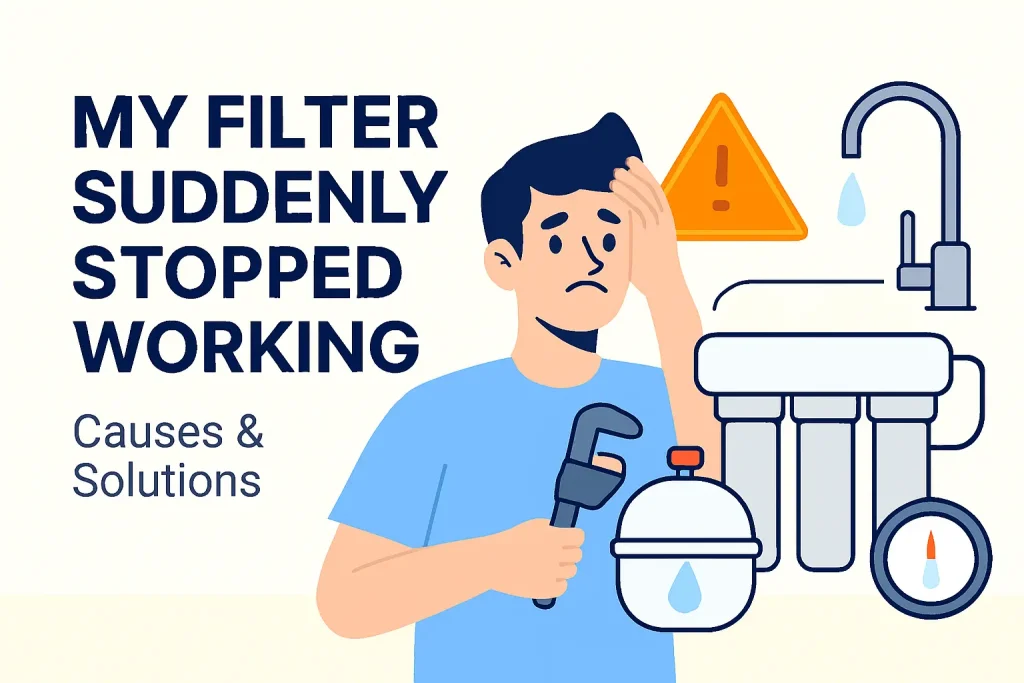
There’s nothing more frustrating than turning the tap and getting no water from your water filter. This problem can be caused by simple, fixable issues – or by equipment-level faults that need a technician. This article gives a practical, step-by-step troubleshooting guide: causes, quick fixes you can try safely, when to call a pro, and recommendations to prevent recurrence.
Quick summary
Common causes: clogged pre-filters, low inlet (house) water pressure, faulty inlet valves, blocked flow restrictors, failed tank bladder or wrong tank precharge, fouled RO membrane (for RO systems), and trapped air or plumbing issues.
First checks: make sure the supply valve is open, inspect pre-filter housings, check tank pressure, and listen for pump operation. If DIY steps fail, call a qualified technician.
Common causes & what happens
1. Clogged pre-filters (sediment / carbon)
Sediment or carbon pre-filters catch dirt and chlorine. When they clog, they restrict feed water flow into the rest of the system – often the single most common cause of reduced/no output.
2. Low inlet / household water pressure
Many filters (especially RO systems) require a minimum incoming pressure to operate properly. If pressure is too low, the system may stop producing water.
3. Closed or partially closed inlet / service valves
A simple but overlooked cause: a supply valve, shut-off, or the faucet isolation valve may be partially or fully closed.
4. Faulty or stuck valves, fittings, or flow restrictors
Small valves, check valves, or flow restrictors can fail, get blocked, or move out of position and stop flow.
5. Bladder / storage tank pressure problem (tank not accepting water)
If the filter feeds a pressurized storage tank (common with RO), a ruptured or deflated bladder or incorrect tank precharge can prevent water from entering the tank and cause apparent zero flow at the tap.
6. Air lock / trapped air in lines
Air trapped in the filter lines can block or reduce flow, especially after servicing or replacing filters.
7. Fouled or damaged membrane (for RO systems)
Over time, an RO membrane can foul (scale, biofouling, organic buildup). A heavily fouled membrane drastically reduces permeate (product) flow.
8. Pump or electrical failure (for systems with booster pumps)
If your system has a booster pump and it fails (electrical fault, stuck impeller), you’ll get little or no water.
9. Plumbing / supply interruptions
Broken supply lines, closed municipal valves, or even a water outage will cause no flow.
Step-by-step troubleshooting (safe DIY)
Safety first: turn off the main power if working on electrical parts. If you are unsure about plumbing or electrical work, call a certified technician.
- Check the supply (quickest check)
- Confirm household water is available: open an unfiltered tap (bathroom sink) to verify the general supply.
- Ensure the filter’s inlet / feed valve is fully open.
- Visual & simple checks
- Inspect visible tubing, fittings, and filter housings for kinks, leaks, or obvious damage.
- Look inside transparent pre-filter housings (if fitted) for heavy sediment that would indicate clogging.
- Inspect and swap pre-filters
- Replace sediment and carbon pre-filters if they are visibly dirty or older than recommended. Dirty pre-filters are the most frequent cause.
- If you have spare filters, try installing a new sediment cartridge to see if flow returns.
- Check storage tank precharge (if applicable)
- Turn off the feed to the system and open the faucet to drain the tank fully. Disconnect the tank and measure air pressure at the tank’s Schrader (bike pump) valve. Typical empty precharge is about 5–7 psi for many domestic RO bladder tanks (check your system manual). Inflate or deflate to the manufacturer’s spec.
- If the bladder is ruptured or the tank won’t hold pressure, the tank likely needs replacement.
- Look for air locks / purge lines
- If the system was recently serviced or filters were changed, open the filtered faucet and let it run for several minutes to purge air. For stubborn air locks, follow the manufacturer’s purge instructions or gently squeeze the flexible tubing to move the air.
- Check valves, flow restrictors & fittings
- Inspect check valves for blockage or failure; clean or replace if suspect.
- Flow restrictor (on RO systems) can clog – inspect and replace if necessary.
- Test feed pressure & booster pump
- If you suspect low inlet pressure, test the household supply pressure or compare the flow to a non-filtered tap. Consider using a temporary booster pump if pressure is low.
- Listen for pump operation (if your unit has one). If the pump is silent but should run, check the power and wiring.
- Membrane / internal element check
- If the above checks don’t restore flow and filters are new, the membrane may be fouled. Membrane cleaning or replacement is usually a professional task.
Targeted fixes & solutions
If pre-filters are clogged
- Solution: Replace sediment & carbon cartridges (typical replacement intervals: sediment 3–6 months; carbon 6–12 months – adjust to your water quality and usage). Flush the system after replacement.
If the inlet pressure is low
- Solution: Install a booster pump or increase house water pressure upstream. Confirm the filter model’s minimum pressure requirement (typical small systems may need ~20 – 40 psi, while many RO systems work best at higher pressures – check manual). If pressure fluctuates from the municipal supply, consider a small pressure tank + pump setup.
If the tank bladder / precharge is wrong
- Solution: Adjust tank precharge to the manufacturer’s spec (commonly 5–7 psi empty). Replace the tank if the bladder is ruptured or the tank fails to hold pressure.
If valves / flow restrictors are blocked or faulty
- Solution: Clean or replace the obstructed component. Replace worn check valves and fittings.
If an air lock
- Solution: Fully open the faucet and allow a prolonged flush; follow the system manual to vent air. If lines are looped, straighten or re-route to avoid traps.
If the membrane is fouled or old
- Solution: Have a trained technician perform chemical cleaning or replace the membrane. Never attempt chemical cleaning without proper training and the correct chemicals.
If a pump / electrical issue
- Solution: Check fuse / circuit, wiring, and connections. Replace / repair the pump only if you are competent with electrical systems or hire a technician.
When to call a professional
- You’ve tried basic checks (filters, valves, tank pressure) and the problem remains.
- The issue involves the RO membrane (chemical cleaning or replacement).
- Electrical or pump repair is required.
- Tank bladder replacement if the tank is welded / sealed or you can’t isolate it.
- You’re uncomfortable with any plumbing / electrical task.
Preventive maintenance checklist (recommended schedule)
- Every 3–6 months: Replace sediment and carbon pre-filters.
- Every 12–24 months: Inspect / clean or replace RO membranes per water quality and usage.
- Annually: Check tank precharge and valve condition; inspect fittings and tubing for wear.
Ongoing: Keep spare filter cartridges on hand; log service dates and parts replaced.
FAQ
Q — My filter has zero output after a filter change. What should I do?
A — Likely an air lock or incorrectly seated cartridge. Open the faucet, let the system purge for several minutes, ensure cartridges are properly installed, and housing O-rings are seated.
Q — How can I tell if the tank bladder is the problem?
A — Turn off feed, open faucet to drain tank, disconnect tank, and check pressure at the Schrader valve. If the tank shows no or erratic air pressure or the tank won’t accept water, the bladder/tank may need replacement.
Q — Can I clean an RO membrane myself?
A — Chemical cleaning requires correct chemicals and handling; it’s safest to have a trained technician perform membrane cleaning or replacement.
Q — What’s a normal precharge for a domestic RO tank?
A — Many domestic RO tanks use ~5–7 psi empty precharge – but always confirm your system manual.
Recommendations (final / for owners & service providers)
- Always maintain a service schedule and reminders every 2 – 3 months.
- Keep in contact with a consistent supplier and after-sales service provider, or extra pre-filters in stock.
- Use a pre-sediment filter if your area has muddy/dirty water.
Use a professional and trained technician’s help on proper membrane care and cleaning.